Sunday, April 23, 2017

Master bath is finished!!!

We have been working on our Master bath for a while.  With Jeff working out of town all the time it's hard to just be able to work on it on Saturday.  He took off a couple of days during spring break and we got most of it finished.
Here is the before pictures.


 I really don't like plastic showers....

We started working on the the shiplap walls first.


I painted them white and then distressed them. I love the look of them...
Next is the tub.... I really didn't like the tile on it and I thought it would be easier to just cover it.  I also really like the look.


 I love how it turned out.. I painted it a dark gray. The white tub pops off the gray.
Next was the sink vanity and removing the builders mirror. When we moved in it was pretty rough and had no knobs on it.


It turned out so good.  I bought clear glass knobs for it. I found the mirrors and lights at Home depot. The cute rug I got at Home Goods and I already had the basket.
Next was the hardest the shower.
 

 Jeff getting it all measured out!! There was a lot of steps to it.
First framing it in for the concrete backer board. Then he put in the plastic shower liner.

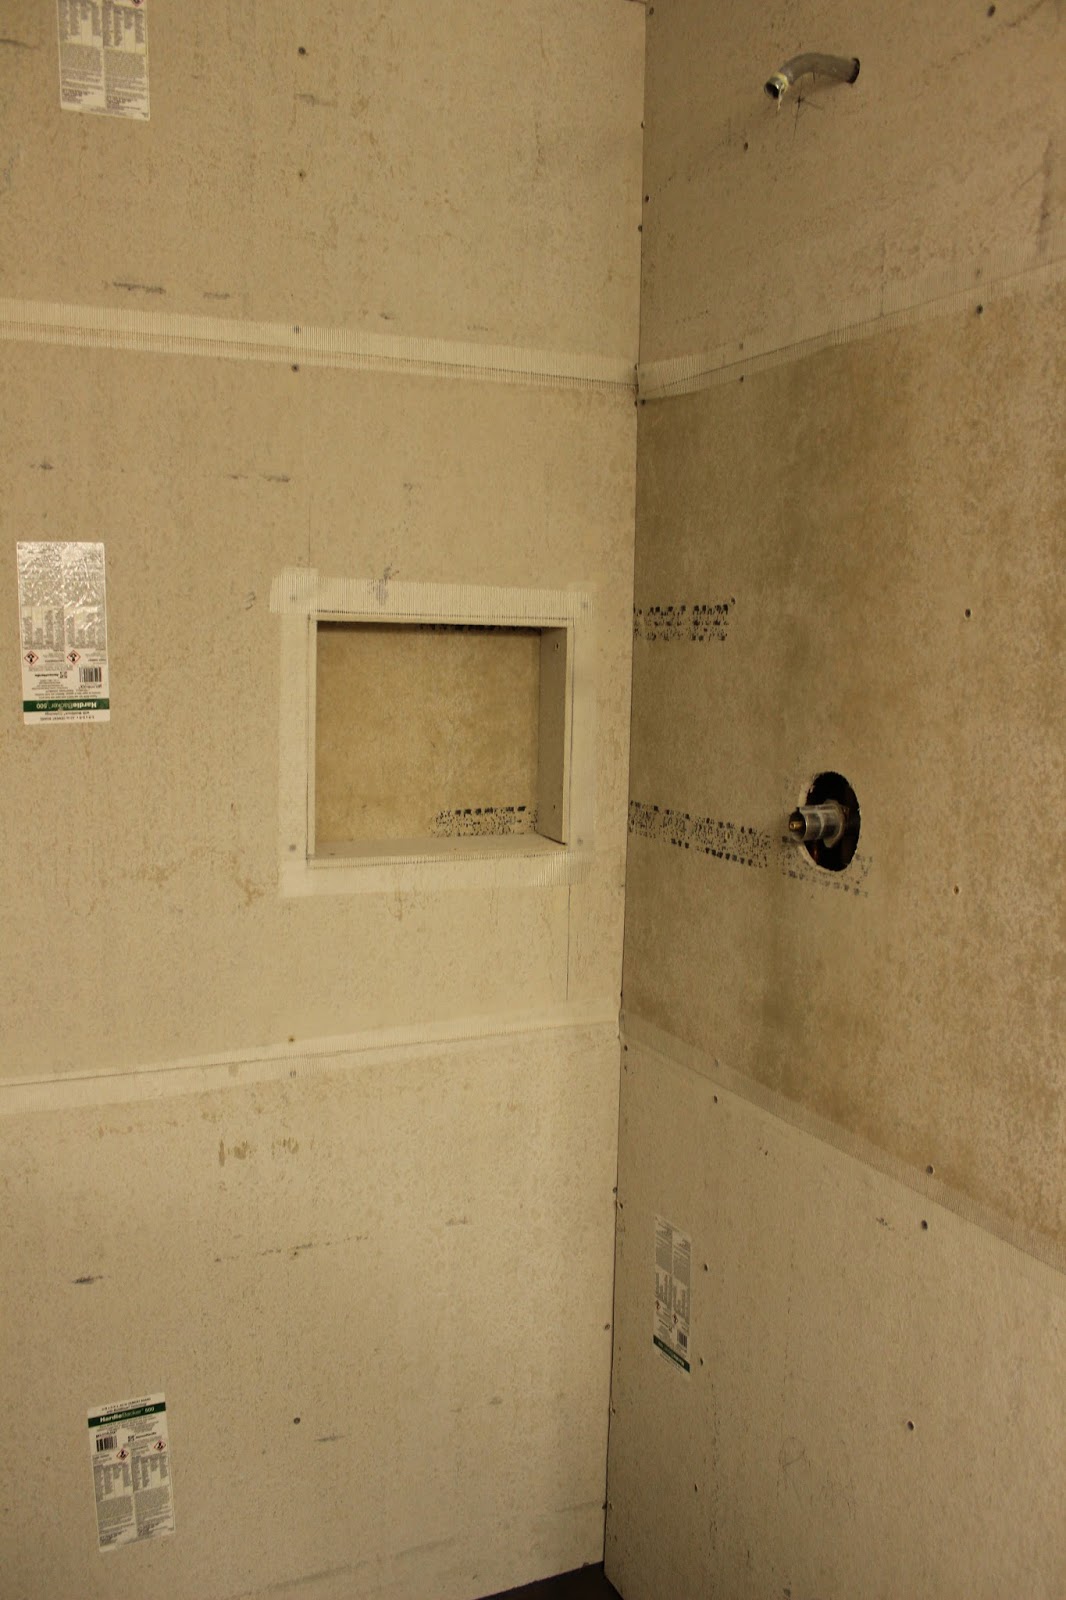
Framed in the shampoo holder and got all the concrete board up.
I wanted him to add a little seat so I could shave my legs.  Then he put a rubber sealer on all the seams.

 He poured the cement floor and made sure it drained toward the center. It's called a quick pitch. He put in a new drain also.

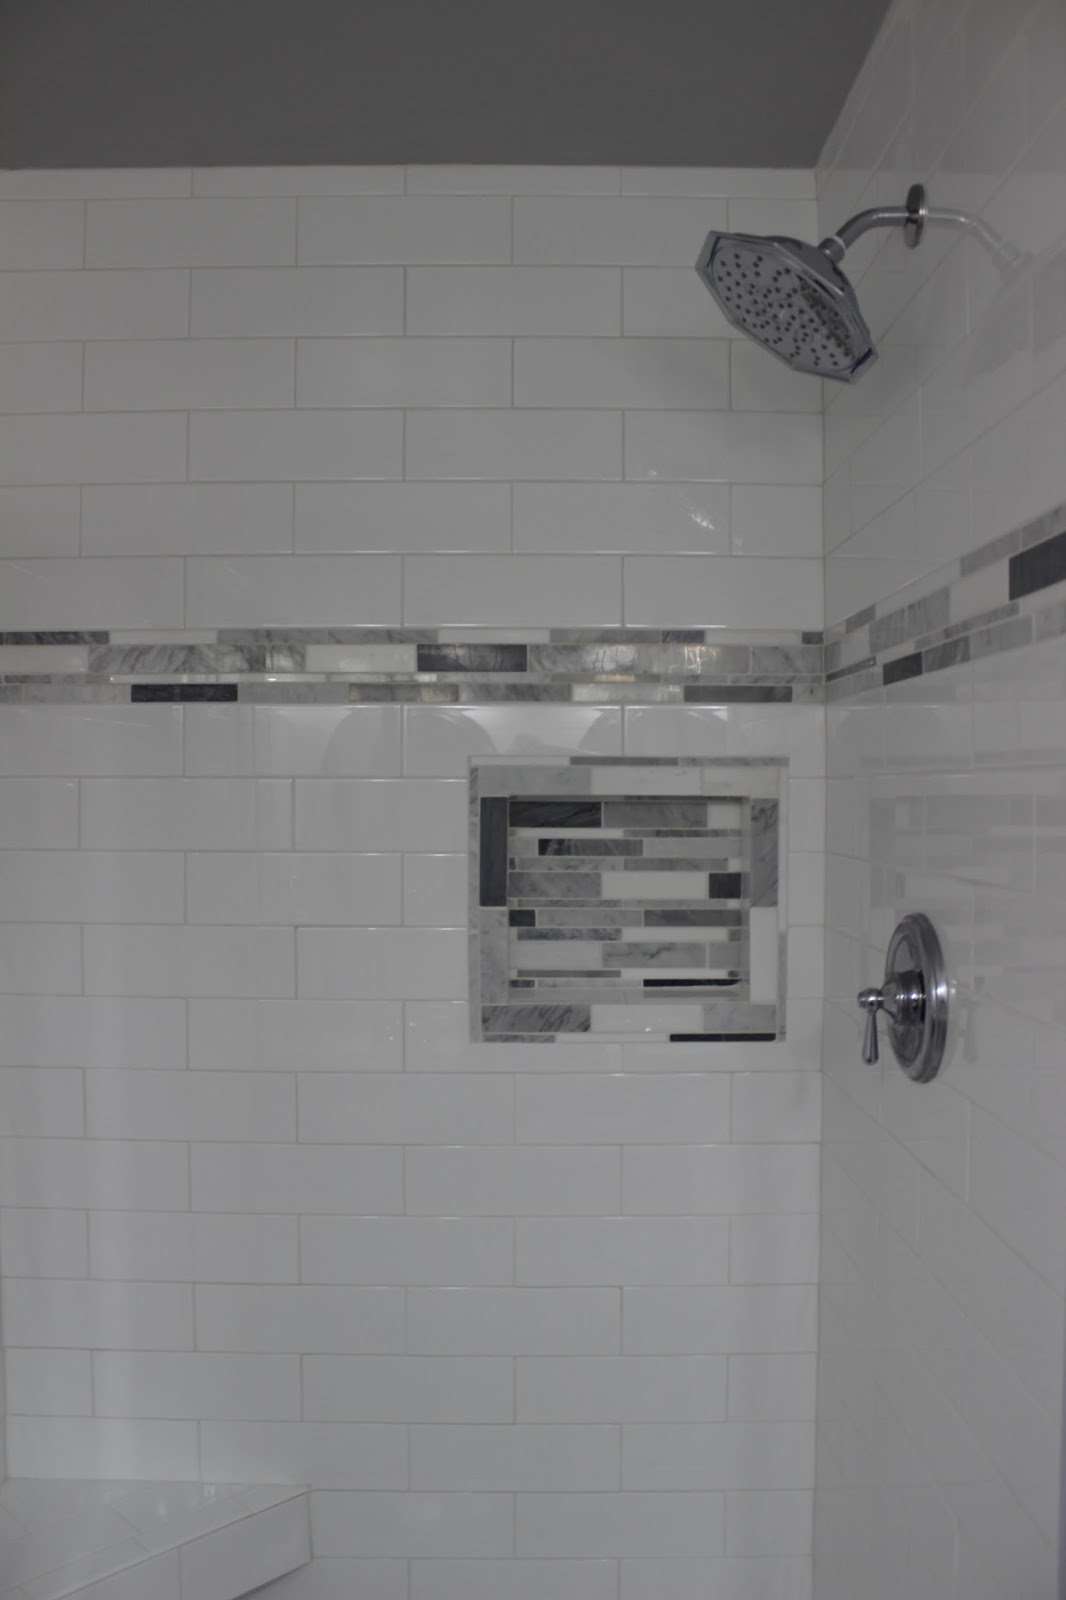
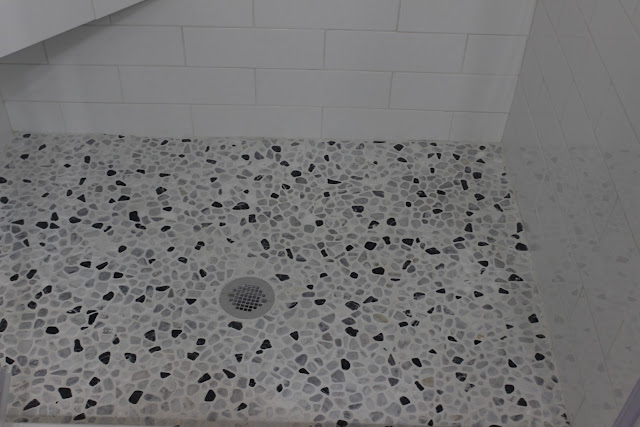
Finally it was time for the tile and pebble flooring.  I love the colors of the decorative tile we used.


 Last was the glass shower door.  We had to special order it from Lowe's and I love it. I don't want anyone to use it because I don't want it to get dirty lol :) We had to seal it and wait for 24 hours so today will be the first time anyone can use it.  I can't wait.... Shower or a hot bath??? both sounds good to me.  On to the next one.


Friday, August 19, 2016

The Little boys Room

Well, I thought I got a before picture but I forgot to put a card in my camera.  Oops!! So no before pictures.  It was a bright medium blue color and a stencil of baseballs around the top. I am trying to keep my whole house the same color pallet and sticking with grays.  I knew what I wanted in my mind but needed to get Jeff on board.  He was excited to start with the boys beds and did a great job.  He always measures it out on paper first and drawes up a plan. I LOVE how the beds turned out and the boys love sleeping in them.  I got the zipper bedding which I am so glad because it's so easy for them to make their beds. And of course I had to do a pop of red with a pillow.  We had a little extra space on one side so it's where we put some of their stuffed animals.


Underneath the bed was a cute little nook that I thought would be perfect for a desk. So off to work Jeff went to make one.  I wanted to paint it a little darker gray since I painted the beds the same color as the walls.


The perfect little spot for two sweet little boys to play lego's or color. I made the boys sign with leftover rope and some boards I had laying around.  The red holder I got from Home Goods and keeps his legos in.  Dont you just love these cute red stools. Perfect kids size.....
Next is the pallet wall. First collect the pallets and break them down.

Then we maped it out on the floor of our basement.  Which was nice and cool down there so it was perfect to work in, especially since it's been hot and humid the last couple of weeks.
 Jeff put them through the table saw to make sure they were straight and then we used the chop saw to cut them to size.

 I did all the sanding and went through alot of sandpaper. When we got them all set up we numbered the backs of them so we would know which order they went in when we took them in the boys room.

 I white washed some and stained some others.  But I love all the different colors of the pallets.
Jeff prepped the wall and found the studs and drew lines so we would make sure to get the nails in so they could be secure.

 Jeff kept putting it off and didn't really want to do it but last weekend we started and it went really fast.  I think he was relieved when I was helping him and it went so fast.
 Look how cute it turned out.  I love the colors in it and the texter.  I am such a texture person and love different texture on the wall. Like old wood doors, shutters and widows.

 I found these cute letters at Home Goods and painted them red.  I love using letters around the house.

 I decided to do burlap curtians and I think they turned out great.  I love how they let some light in but not to see through.  The were super cheap and got them in the garden center at Home Depot.

I love how hard work and a little bit of money can transform a room.  Well on to the next project. 
Thanks for viewing!