Friday, August 19, 2016

The Little boys Room

Well, I thought I got a before picture but I forgot to put a card in my camera.  Oops!! So no before pictures.  It was a bright medium blue color and a stencil of baseballs around the top. I am trying to keep my whole house the same color pallet and sticking with grays.  I knew what I wanted in my mind but needed to get Jeff on board.  He was excited to start with the boys beds and did a great job.  He always measures it out on paper first and drawes up a plan. I LOVE how the beds turned out and the boys love sleeping in them.  I got the zipper bedding which I am so glad because it's so easy for them to make their beds. And of course I had to do a pop of red with a pillow.  We had a little extra space on one side so it's where we put some of their stuffed animals.


Underneath the bed was a cute little nook that I thought would be perfect for a desk. So off to work Jeff went to make one.  I wanted to paint it a little darker gray since I painted the beds the same color as the walls.


The perfect little spot for two sweet little boys to play lego's or color. I made the boys sign with leftover rope and some boards I had laying around.  The red holder I got from Home Goods and keeps his legos in.  Dont you just love these cute red stools. Perfect kids size.....
Next is the pallet wall. First collect the pallets and break them down.

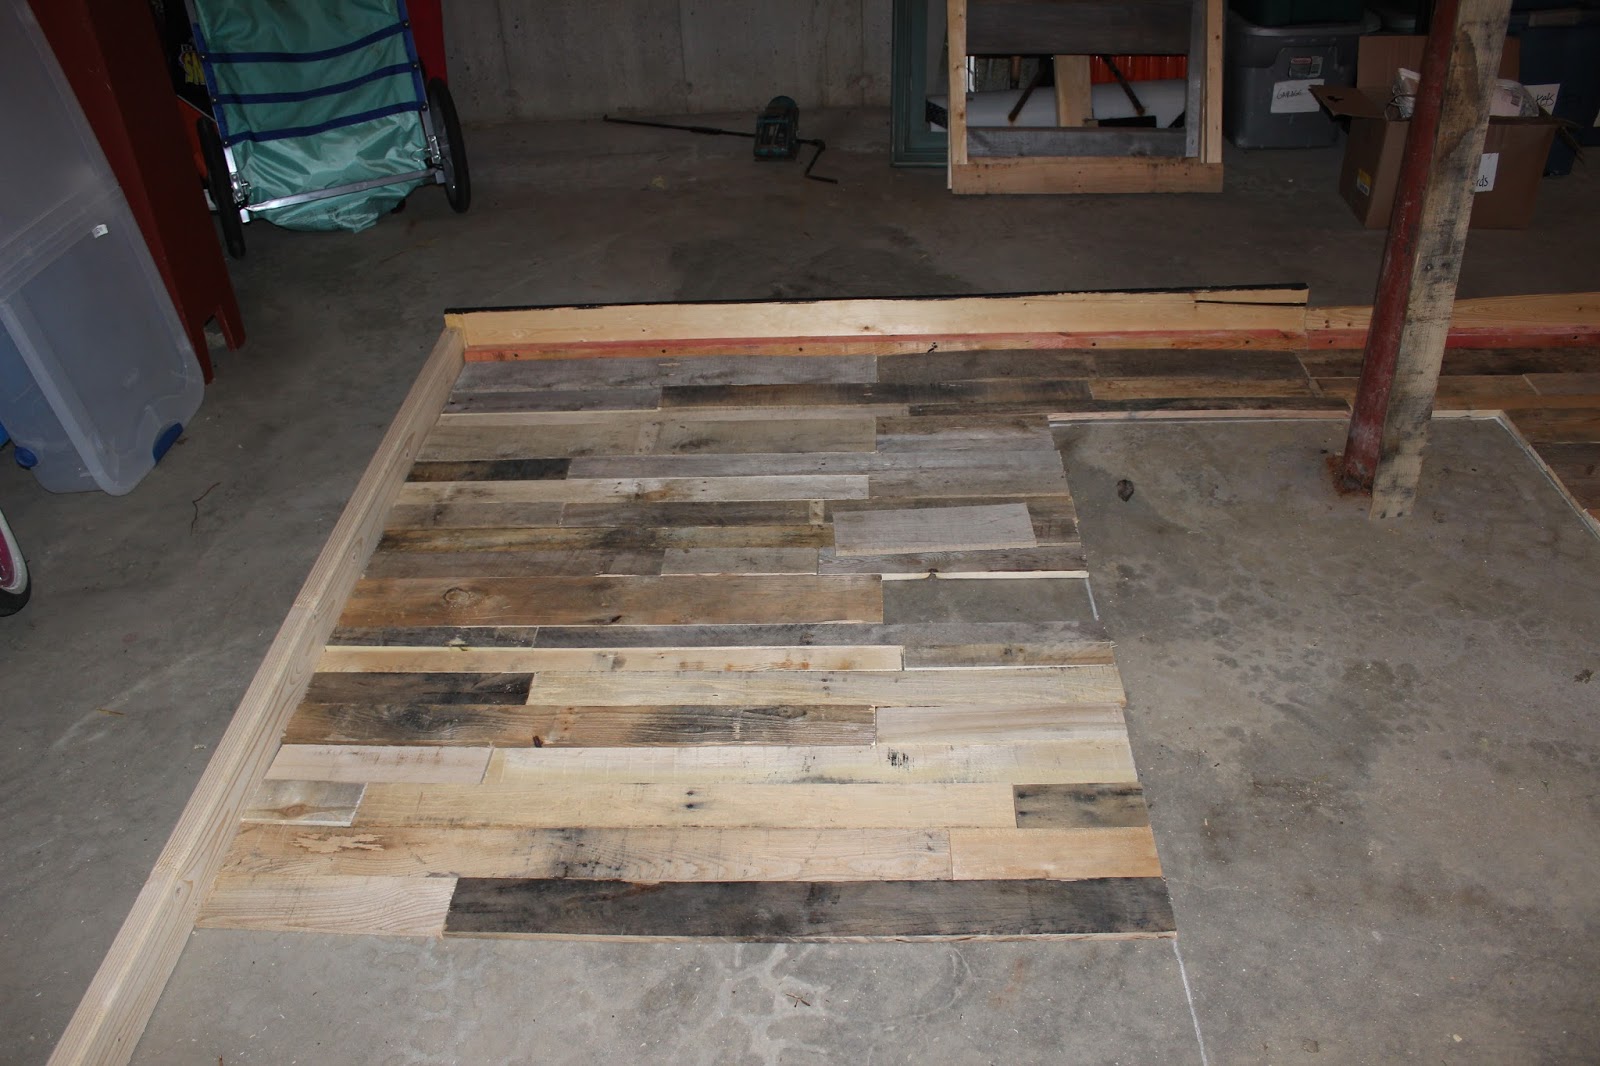
Then we maped it out on the floor of our basement.  Which was nice and cool down there so it was perfect to work in, especially since it's been hot and humid the last couple of weeks.
 Jeff put them through the table saw to make sure they were straight and then we used the chop saw to cut them to size.

 I did all the sanding and went through alot of sandpaper. When we got them all set up we numbered the backs of them so we would know which order they went in when we took them in the boys room.

 I white washed some and stained some others.  But I love all the different colors of the pallets.
Jeff prepped the wall and found the studs and drew lines so we would make sure to get the nails in so they could be secure.

 Jeff kept putting it off and didn't really want to do it but last weekend we started and it went really fast.  I think he was relieved when I was helping him and it went so fast.
 Look how cute it turned out.  I love the colors in it and the texter.  I am such a texture person and love different texture on the wall. Like old wood doors, shutters and widows.

 I found these cute letters at Home Goods and painted them red.  I love using letters around the house.

 I decided to do burlap curtians and I think they turned out great.  I love how they let some light in but not to see through.  The were super cheap and got them in the garden center at Home Depot.

I love how hard work and a little bit of money can transform a room.  Well on to the next project. 
Thanks for viewing!

Wednesday, August 10, 2016

I am finally done with the KITCHEN!!!!! I'm Done, I'm Done I'm Done!!!

This is how our kitchen looked when we moved in.. Not bad but it needed a change.  When we moved in it had one wall oven with a microwave. The oven smelled like cat pee..Yes cat pee and it was gross... The microwave didn't work and neither did the dishwasher.  We opened the fridge and it was so gross and moldy for sitting for 3 years that we didn't want it either.. So off to Lowes and Home Depot for us.  The list: New double ovens, microwave, dishwasher and fridge...Yikes!!  Most of them were on clearance and we got a pretty good deal.  In Connecticut home depot or lowes won't install your appliances you have to call out someone to do it or do it yourself.  Of course Jeff  doesn't like to pay someone when he thinks he can do it himself so everything hooked up fine except the double wall oven that was SO HEAVY!!! He had to cut out a bigger area to fit it in and we (the boys and me) pulled that thing out and held it to many times to count.. It was about 11pm at night and I think we were all so tired we didn't even want to look at it.  But we finally got it in and man am I glad.  I LOVE them and use them all the time... Boy was it a pain to get in...

In the before picture there is no light above the Island so I had Jeff put one in.  It's so nice to be able to see and have that extra light for prep work. Here is the after picture!!! wait for it.....ok ta da!!!


I love how it turned out... I love the gray cabinets next to the black granite, I painted the Island white to break it up a bit. I love the stainless steel appliances (except for the fingerprints!) Next time I will get the smudge proof ones.. I love the pop of red with everything. I painted chalk board paint on one of the cupboards for a grocery list and chore chart. I also painted chalkboard paint on the wall for a calendar to keep me organized.

Do you remember awhile ago I asked what cabinet handles you like best silver or black.  Well after going back and for I decided to keep the ones I had.  I would of had to special order all my handles and there were over 50 so I ended up with black and silver anyway.  They had a brass stripe on them that I painted black and I really like how they turned out.. I also like the fact that I didn't have to go buy new ones... I am always saving you money Jeff :)

 When we moved in it had an old ugly went over the flat top.  I knew I either wanted a really cool vent or a microwave since we didn't have a spot for it when we replaced it with a double oven.  I so wanted a really cool Joanna Gaines vent but function won out.  There was no place to put the microwave and I don't like them on the counter tops. We had to buy a smaller cabinet for above it and since I was painting them anyways it all worked out great.....

Didn't my husband Jeff do a great job on the back splash. We went with subway tile with some accent glass tile.  See you can't even tell that cabinet wasn't there the whole time....
We also had a wine rack but we don't drink so I wanted it out. I thought it would be a great spot for a glass cupboard.  I have been looking for windows that would fit and found one at a garage sale for $2.00. You can't go wrong with that... It turned out so cute!! Jeff did great putting in the shelves and making it looks like it belongs there.


I need some more red dishes though... You can't hardly see the white ones.
I love to collect chickens... I don't have tons but I have a few that I really like. I also made a sign above the doorway. I love to look for old pieces of wood to make them on. I also love wood buckets, and wood cheese boxes. Here are a few things I have collected.


I am so glad I painted my table white and my Island. It lightens things up. I ordered red stools off of Amazon and the kids love sitting up to the Island all the time.  They are really comfortable too...


Well there is my kitchen all finished... I do this blog to let everyone know it's easy to change the look of your house with a little hard work (ok a lot of hard work) and a little bit of money.  I always try to find cheap solutions to things and decorate on a dime. And if I can do it you can too!!!!
Thanks for taking a look
Carrie

Thursday, March 10, 2016

MiaBella's Room

Well I finally finished Mia's Room..... It is fit for a Princess!!!
Here is her room before. Not bad but I didn't really like the wall color and it was dirty and some holes that needed to be fixed.


Here is the light fixture that was actually the only one left in the house and I liked it. I didn't like the color and I thought it needed a little bling....
So I painted it white and added crystals to it and I think it's now fit for a Princess.
I painted the room a light grey because I wanted to do her room in grey and pink. Plus I am painted the whole house in different shades of grey.
I bought this bed last year from a friend that was moving. I didn't know what I was going to do with it but I loved it.  I washed it up and repainted it white so it looks new and clean. It gives her more room to play than her double bed.
I repainted her dress-up dresser because I didn't like the stripes. Of course I used chalk paint which is the best for furniture. Stenciled on the drawers and added a M. I picked up this piece a couple of years ago on trash day.  YES trash day for free. I know don't be jealous, you too can drive your 12 passenger van around and collect as much furniture as you can squeeze into it... It's best to bring your big strong husband to load it all.... Here is the before picture.
I made a cute little reading nook for her.  I used a curved shower rod I got on sale at Home Goods and I ordered the curtains from Ikea because we have 10 foot ceilings. She loves it and reads and plays in it all the time.
I painted the grey shelve that has been passed around from all my kids that I got from target years ago and it looks new again....
Her little chalk board was a mirror that I think I got from trash day also. I just took it out and had my husband cut a board to fit and I painted it with chalkboard paint.
I love this dresser. I painted it a couple of years ago but it is still one of my favorites.  I always get dressers from second hand stores, garage sales, or trash day.  I only get the real wood ones.  I have gotten some really nice Ethan Allen, Basset and more.  The older ones are made so much better.

Her Barbie house was Tera's when she was little.  So it's about 20-22 years old. It's made at a wood and every time I pass it down I just clean it up and put a fresh coat of paint on it. It's still as cute as can be and Mia loves playing with it.

One more room finished so on to the next.  I am starting on the kitchen next...It's going to take me awhile so maybe I will do a small project also...Until next time